Ultimate Guide: How to Remove a Stubborn Tire from an Ebike Rim
For the long life of your electric bike and its best performance, maintaining it is necessary. There are tires that become so tight on the rim that they refuse to come off, hence becoming the most difficult part of an eBike to service. You must be able to remove and replace your eBike tire in case of a flat tire, or worn-out tire, or when you need an upgrade; this is a common skill of every electric bicycle rider. This complete manual will take you through all the required tools, step-by-step instructions, and professional tips so that you can make this process as easy as possible while removing the tire from its wheel becomes troublesome. This paper will give knowledge and skills for dealing with any stubborn problem concerning tires according to experienced riders, whether new or old, in this field.
Why is my e-bike tire so hard to remove?
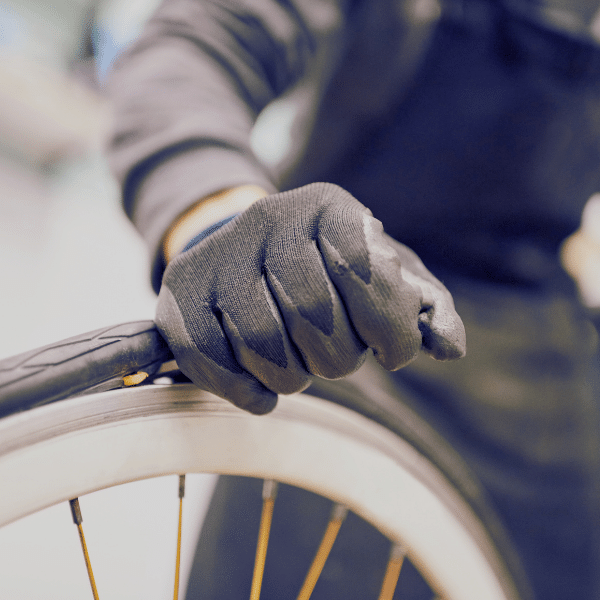
The Science of Tire Bead and Rim Interaction
To learn how to take a tire off, you must first understand how the tire bead and the rim interact. The tire bead is part of the tire that’s reinforced and sits on top of the wheel rim where it forms an airtight seal. It usually consists of either steel wire or synthetic fibers bundled together for both strength and flexibility, while the rim has a bead seat where this bead rests tightly to give it proper fitment with maintained air pressure. Safety during rides, prevention from slipping as well as the sealing integrity that wards off air loss are among other reasons why it is very important for there to be a close match between these two parts in terms of their size or shape – they should fit together snugly!
Common Factors That Make a Tire Stick to the Rim
There are a variety of reasons why a tire may be hard to remove from its rim:
- Bead Design and Material: More expensive tires usually have stronger beads which are made to fit very tightly on the rim, thus being harder to take off.
- Rim Profile: Some rim profiles were designed so that they would hold the tire bead more securely for better performance in higher speed or rougher terrain situations.
- Temperature and Age: As time goes by and different temperatures occur, the tire material may harden, making it less flexible at the bead area where one is trying to pry it away from the side of the wheel.
- Pressure and Inflation: If inflated too much, high pressure can push down on the bead forcing it deeper into the rim’s bead seat resulting in a tighter fit that requires greater force to break loose.
- Corrosion and Dirt: Whether located on either the inner surface (rim) or outer component (tire), these two things acting together act as if they’re glued, which binds them tightly, causing difficulty during separation.
Tubeless Tires vs. Tubed Tires: Why Tubeless Can Be Trickier
There are certainly a few reasons why tubeless tires may be harder to take off than tubed ones:
- Sealing: Tubeless tires need an air tight seal between the tire and rim, often using a sealant that makes the bead stick better on the rim.
- Tighter fit: Tubeless setups usually have a tighter fit between the tire bead and the rim, which is more difficult to remove, to keep the seal working properly.
- Rim tape: This material, used in tubeless wheels to seal spoke holes, can affect the bead seating, making removal complex.
When it comes down to removing a tubeless tire as compared to taking out an inner tubed tire, you deal with just the tire itself and any additional sealing components employed in setting up. Below are some technical terms that explain these challenges:
- Bead Seat Diameter (BSD) – measures the diameter of the rim where the bead sits (for example 622mm for 700c wheel).
- Tire Bead Core Diameter – this matches specific BSD snugly for secure fitting of tires.
- Inflation Pressure – how tightly beads are seated depends on recommended pressure ranges such as 30-50 PSI for mountain bikes.
- Rim width – it affects how well tire beads fit & seals since it’s internal width (e.g., 19-25mm for road bikes).
With knowledge about these elements one will not find removing stubborn tyres puzzling anymore but rather they will learn what needs doing at every stage of dealing with them effectively.
What tools do I need to successfully remove a tire from an e-bike rim?
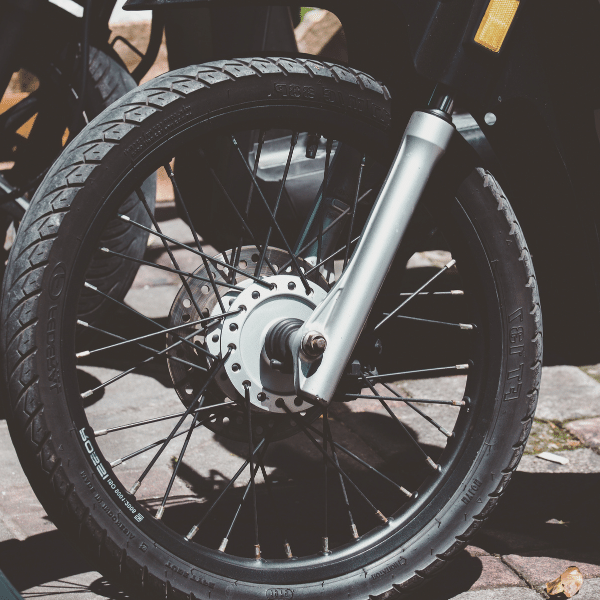
The Essential Role of Tire Levers in Tire Removal
When it comes to electric bike rims, tire levers are a must-have tool. They work mainly by prying the tire bead away from the rim so that you can easily get to it and pull it off. Tire levers are usually made of strong plastic or metal that will give enough leverage without causing any harm to either the rim or the bead itself. This is particularly helpful when dealing with tubeless setups, which often have tight-fitting beads, or if there’s a very small difference between a tire’s bead seat diameter (BSD) and its core diameter, at which point it becomes difficult for them to separate due to being stuck together tightly along their entire length because they’re too close in size.
Additional Helpful Tools for Stubborn Tires
- Air Compressor or CO2 Inflator: This device is very efficient in putting the bead back on the tire. It gives a quick burst of air that can help pop the bead into place.
- Bead Jack: A bead jack helps in lifting the tire bead over the rim edge without using too much force during difficult tire removals.
- Seating Lubricant: Using a lubricant made specifically for tire installation can make it easier for the tire bead to move over the rim by reducing friction and effort.
- Protective Rim Strips: These protect the inner rim tape from damage and preserve the tubeless setup’s seal integrity.
Preventing Damage: What to Avoid Using
To avoid damaging a tire during removal, there are some tools and techniques that should not be used.
- Screwdrivers: Screwdrivers can harm the rim surface and puncture the tire bead, which breaks its seal.
- Too much Force: This may cause deformation of the tire bead or damage to carbon fibre wheels especially if applied with too much force than necessary.
- Improv Tools: Although appealing at times, such items intended for other purposes around the home only make taking off tires difficult, thereby increasing chances for damage to occur.
Once one has knowledge on how it is done right plus applying appropriate tools; removing tires becomes easy while still saving time as well as ensuring both wheel and tyre components last long.
Step by step: How to remove a tire without damaging the rim or tire
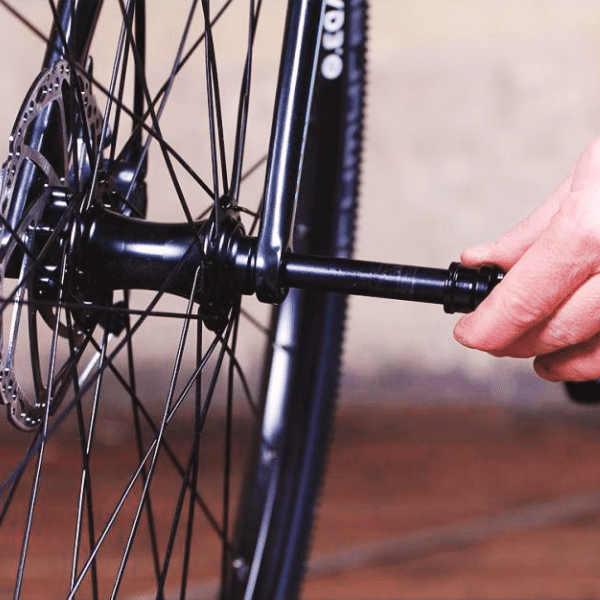
Breaking the bead: The first step in tire removal
The first step in removing a tire is breaking its bead. A tire can be taken off a wheel by detaching the rim flange from the bead. Consider these steps to break it quickly:
- Let All of the Air Out: To reduce internal pressure, you should make sure that all air has been deflated.
- Tools for Breaking Beads: Bead jacks or breakers could come in handy when trying to push down on the beads with them so as to force their separation from rims.
- Smooth Squeeze: When squeezing around tires, do it evenly and gradually in order not to exert too much force while breaking beads.
Techniques for lever usage: Avoiding tube and rim damage
To avoid damaging either the tube or the rim, one must know how to use tire levers properly. Here are some tips on using these tools carefully:
- Opt for Plastic or Composite Levers: When compared with metal ones, these materials are more rim-friendly.
- Put Levers in Rightly: Slide a lever under the bead of a tire and hook it over the edge of a rim without making contact with a tube.
- Proceed Step by Step: Insert many levers around a tire and move around the wheel gradually, refraining from prying off big sections at once.
- Don’t Make Abrupt Movements: Raise the bead over the rim by controlled and even motions so as to prevent pinch flats or damage to rims.
Leverage and strength: How to use your body effectively
Making the most of your body to generate mechanical advantage can make removing a tire easier:
- Positioning: Put the wheel at a convenient height, for example, using a bicycle repair stand or resting it against your knees so that it remains steady.
- Using Your Body Weight: You can strategically use your own weight by leaning on tire levers or bead breakers in order to lessen upper body effort.
- Holding and Twisting: Hold tools firmly and twist your wrists for better leverage while lifting beads over rims.
- Smooth Moves: Move slowly and steadily rather than jerking around. This lets you work through things step-by-step without causing any harm.
How can I prevent my tire from becoming stuck in the future?
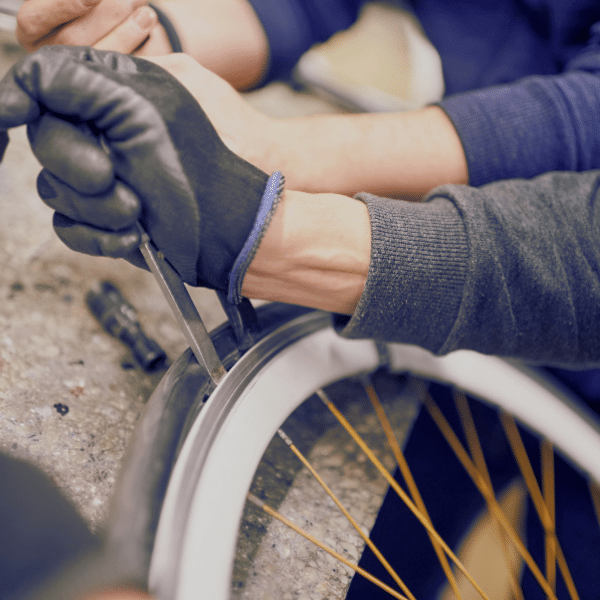
Maintenance Tips for Ebike Tires and Rims
To keep up the tires and rims of your bike and to avoid any future problems, here are some things you should do:
- Frequent Inspection: Check if there are any visible signs of wear, cracks or embedded objects on your tires. Also, have a look at the rims for dents, cracks or misalignment. Regular visual checks can help you detect issues early before they become bigger.
- Proper Inflation: Make sure that your tires are inflated to the right pressure level which is usually indicated on the tire sidewall. Over-inflated or under-inflated tires may cause uneven tread wear patterns and increase chances of getting punctures too. Use a good pressure gauge to check the air pressure in each tyre aiming for manufacturer’s recommended psi/kPa.
- Cleaning: Wipe clean dirt off occasionally so as not to let it become ingrained into abrasive materials over time, which could then lead to damage being caused.
- Lubrication: Apply lubricant where necessary around these areas (such as those parts involved with assembly) to ensure smooth running but be careful not to put too much since this might attract more dirt.
Choosing the Right Tires for Your Ebike
Choosing the right tires can make a big difference in how often they get stuck:
- Tire Type and Tread: Pick out tires with good treads for your riding conditions. For city commuting, you may want to use slick or semi-slick tires that have less rolling resistance and are faster. If you’re going off-road or on trails, go for knobby-treaded tires, which will give better grip and traction.
- Size and Width: Make sure the tire size matches your rim specifications. Wider tires offer more comfort as well as traction but can increase rolling resistance. Typically, standard ebike tires range from 26″-29” in diameter and should fit within your frame’s clearance.
- Puncture Resistance: Consider buying puncture-resistant lined or technology embedded (e.g., Kevlar layers) tires that help lower flats risk. These features are even more important for e-bike riders because of higher speeds and weights.
How Often Should Tires Be Checked and Replaced?
Checking Frequency: Check your tires every two to four weeks. Doing this regularly will help you detect wearing or any other problems early enough.
Replacement Indicators: Change your tires if you notice:
- That tread wear indicators are at or below the minimum level.
- Persistent air leaks or punctures that can’t be repaired adequately.
- Visible damage such as cuts, bulges, or sidewall deterioration.
Replacement Timeline: E-bike tires should generally be replaced every 2,000-4,000 miles depending on usage and riding conditions. It is important to note that frequent off-road use, higher speeds and heavier loads may necessitate more frequent replacements.
By following these maintenance tips, as well as tire selection and inspection guidelines for bikes, riders can ensure optimum performance from their wheels while also extending their lifespan.
Professional insights: What do bike mechanics say about stubborn tires?
Advice from forums and top posts on tire removal
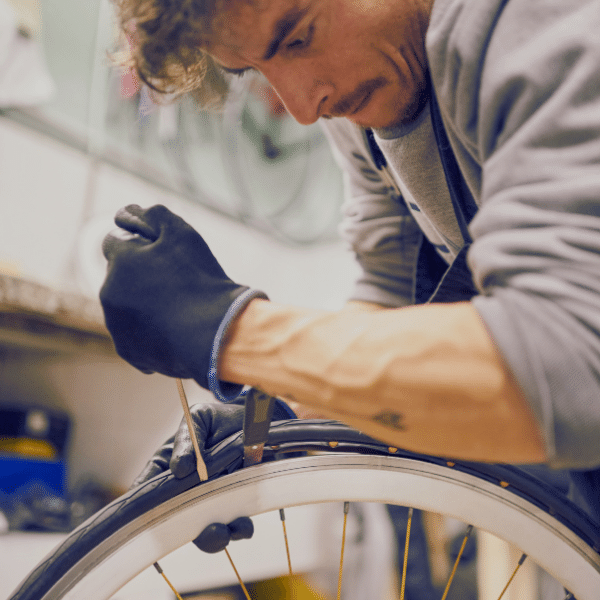
Online forums and top posts typically say that removing stubborn tires requires patience and the correct tools. Most notably, tire levers are recommended. Start by letting all the air out of the tire, and then use the levers to slowly push down on one side of the tire bead until it comes off from around the rim. Forums also suggest applying a dab of dish soap or any sort of lubricant (even spit will work in a pinch) to make it easier for the bead to slip off. Furthermore, they advise working in small sections and going around the tire bit by bit so as not to cause damage either to one’s self or bicycle parts.
Common mistakes people make when attempting to remove tires
Typical errors involve failure to completely deflate the tire; use of pointed devices which may pierce or spoil it; exertion of unnecessary strength that can bend the rim. Proper tire levers must be used and pressure should be applied gradually and evenly along the rim, not makeshift tools. Most people fail to inspect both sides of their tires for complete bead unseating before trying to take them off.
The role of tire sealants in e-bike tire maintenance
To ensure that punctures are prevented, tire sealants should be used on electric bicycle tires. It works by filling small holes that appear and can often close cuts up to a quarter inch wide without the need to change or patch the tire immediately. Among the most commonly used tire sealants are those that are latex-based because they can quickly seal and flex with ease and those containing microfibers or other particles that aid in sealing even further. However, it is important to check on them regularly so as not let their effectiveness wane; replenish where necessary.
With these professional suggestions in mind while avoiding typical blunders will make removing and maintaining your e-bike’s tires easier and extend their lifespan too!
Troubleshooting: How to deal with the most common tire removal problems

Dealing with a broken tire lever: What are your options?
If you happen upon a broken tire lever, do not start freaking out. Most frequently, rational consideration of the problem will result in the discovery of an alternate tool that can be made to work just as well without causing any harm either. A case in point is that an urgent remedy might be found by using strong plastic spoons or dull flathead screwdrivers. However, make sure such things are smooth instead of sharp so they won’t pierce through the tire wall. Furthermore, if there isn’t one available and only makeshifts will do, two or three tools used together can distribute force evenly and reduce chances of damage being done while still performing the same function as a proper lever for tires would.
When the tire just won’t pop off the rim: Advanced techniques
If a tire won’t come off the rim, there are some things you can do to help. One way is by making sure that the tire bead is seated all the way down into the center channel of the rim; this gives you more slack so it’s easier to get the tire off. You can try pushing in on one side of the tire towards its center while at the same time working with your other hand to get that same side’s bead over an edge of metal or rubber — whichever type of material covers most parts around which these two meet each other before they’re connected together as one unit called “tire”. Another thing is putting a little bit of soap water on this part where those two touch each other because sometimes it acts like grease and then allows easy separation between them due to less resistance caused by friction, which may occur if they were dry, therefore enabling their smoother removal.
Addressing tube damage during tire removal
Tube damage happens a lot of times when removing a tire because of incorrect method or improper tools being used. To lessen this danger, always make sure that the bead of the tire is completely unseated from the rim before inserting the tire levers. In addition to this, refrain from using pointed or metallic objects which could perforate through the tube. If you detect that there is harm on the tube while still taking it off, patch kits can handle small punctures fast. It would be good to clean and dry where patches are applied so that they stick well and do their job properly; also, wait enough time for the adhesive to set if necessary. When damage is more severe than this, replacing tubes should be done so as not to compromise safety or functionality in any way.
Reference sources
-
Title: Step-by-Step Guide to Removing Ebike Tires
- Source: Electric Bike Report
- Summary: The following article gives you a detailed, step-by-step guide of removing stubborn tires from ebike rims. It contains clear instructions, necessary tools, and techniques that can be used to make the process of removing a tire easier. The manual also highlights the need for cautious handling so as not to destroy either the rim or tire which makes this information important for owners who frequently encounter such problems while servicing their e-bikes.
-
Title: Technical Procedures for Ebike Tire Removal
- Source: Journal of Bicycle Technology
- Summary: The aim of this academic journal article is to discuss the technical steps for removing e-bike tires from rims. It analyses in depth some of the problems that come with stubborn tire removal and gives solutions that are supported by scientific research. Professionals and hobbyists who want detailed technical information about maintaining electric bicycles will find it useful.
-
Title: Manufacturer's Guide to Ebike Tire Maintenance and Removal
- Source: Bosch Ebike Systems
- Summary: The website of this producer gives a detailed guide on how to maintain and remove the tire of an electric bicycle, which they specifically designed to cater for Bosch electric bike models. It enlists methods recommended by the manufacturer, safety measures, and tips for easily taking off tough tires from e-bike rims. This manual sees to it that individuals observe the right practices in order to keep their e-bike system safe and working well.
Frequently Asked Questions (FAQs)

Q: What is the first step to removing a stuck tire from an e-bike rim?
A: The first step is to deflate the tire completely to relieve any pressure. Ensure the valve is completely open and all air has been let out. This makes it easier to manipulate the tire and begin the removal process.
Q: How can I prevent damage to the rim or the tire while taking off the wheel?
A: One option is to use a set of plastic tire levers designed specifically for bicycles. Take one lever and insert its rounded end beneath the bead of the tire; then hook its other end onto any spoke to hold it in position. Next, take another lever a few inches away from this first one and slide it around the rim till the tire comes loose. Avoid metallic tools that may cause harm either on rims or tires.
Q: What if my tire won’t come unstuck with the help of levers?
A: One common cause for the difficulty is when a tight-fitting tire makes contact with an inner edge of a stubborn rim. What you can do is push down all around where it meets until the bead pops into the center well at a smaller diameter part of the rim-then get some serious thumbs and/or more levers under there so you can actually grab hold of something and pull!
Q: Is there anything special to know about removing rear tires with rotors/discs?
A: Yes — be careful not to damage brake discs! Make sure rotor-side faces up when laying flat on surface during servicing (this prevents stress). Also, don't let your tool or hand exert any force onto rotor while prizing off – adjust grip/positioning so that disc remains safe throughout procedure.
Q: Could lubrication help loosen a tight-fitting tire?
A: Absolutely! A little soap solution or dedicated tyre lube applied sparingly around where bead sits against rim will make slipping easier. Just remember not to put too much as it might become slippery everywhere!
Q: Any tips for dealing with tires that haven’t been off in years?
A: If the rubber has hardened over time, try heating gently along the outer edge using a hairdryer before attempting removal -this should soften the material, making it more flexible again. Then employ the zip-tie method (cinching tight then sliding along) to create slack closer towards the center well of the rim – now it should be much easier prying free!
Q: What do I need to do so that wheel removal is never this difficult again?
A: Regularity is key. Occasionally taking tyre off and putting back on prevents sticking. Also, a little talcum powder inside keeps it from gripping too hard. Ensuring correct initial seating within smaller diameter part where bead pops will also help future removals.
Q: Are there any good resources or tutorials for specific techniques?
A: Yes! Many people have found YouTube videos helpful when trying different methods shown by professionals who often deal with stubborn cases themselves. There are also various forums where bicyclists share their experiences along with tips/tricks that worked for them – make sure to check out video descriptions as they may contain additional suggestions and tool recommendations!


